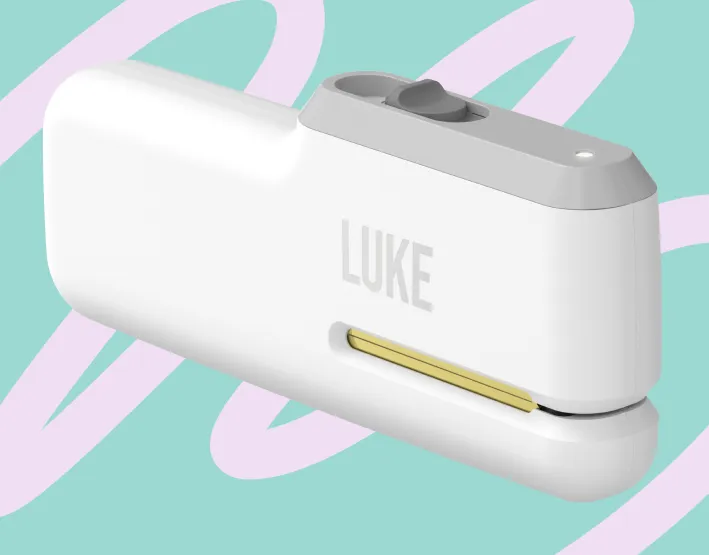
Let's get you label free.
Welcome to the label-free side. Here's everything you need to know.
Let's get you set up

Open the battery tray on the back and pop in three AA batteries (not included, alkaline LR6 recommended). Insert the batteries on sides, the middle-one comes last.
Find the small test label in your LUKE box and use it to get a feel for the tool before you start on your clothes.
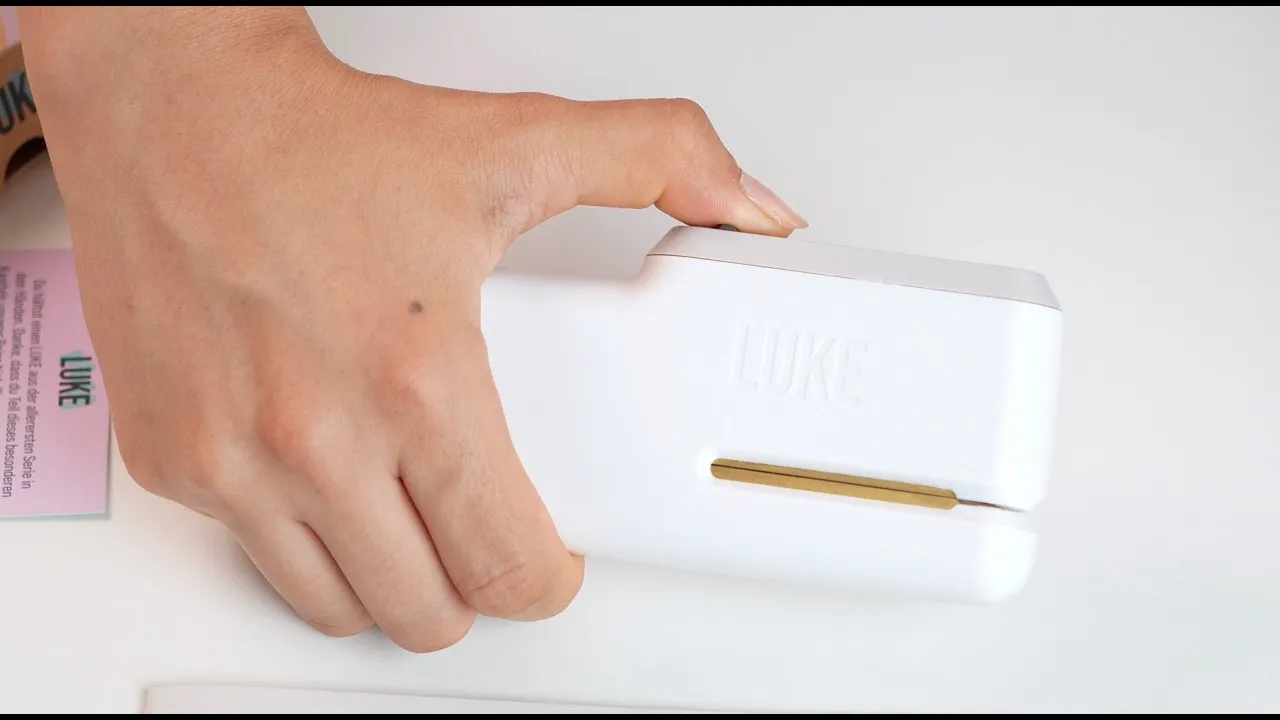
Pull the slider all the way back to open the clamps. It takes a bit of force, just keep going until you feel the “click”.
Insert the label from the front, fabric side against the gold clips. Keep the slider pulled back as you do this.
Release the slider. Pull the label as close to the clamps as possible.
Push the slider forward. The LED lights up – cutting has started.
Once the LED turns off, pull the slider all the way back. Remove the label and fabric.
A few things worth knowing
LUKE handles up to four layers of labels at once
Works on any standard label material
Labels should be at least 30mm long – if yours is shorter, extend it with a small piece of tape so it feeds through cleanly
Maximum label width is 50mm
Avoid cutting wet or damp labels
Make sure you're in a ventilated space – cutting with the heated wire can release a small amount of fumes.
Something not working properly?
Slowly pull the slider back, this lets the wire work through the label. Then remove it. If it's really stuck, carefully pull the label out backwards.
Either the batteries aren't inserted correctly, or they need replacing.
One garment at a time, but if the label has multiple layers, LUKE handles up to four at once.